 Skip to content
Moving house can feel like a daunting task, but with the right planning, it doesn’t have to be. Here’s a quick breakdown of 10 practical tips to make your move hassle-free:
- Create a Moving Checklist: Plan tasks 6–8 weeks in advance to stay organised.
- Prepare Packing Materials Early: Gather boxes, tape, and bubble wrap to avoid last-minute runs.
- Label Boxes Clearly: Use colour codes and descriptions to simplify unpacking.
- Declutter Before Packing: Sort items into keep, donate, sell, or discard categories.
- Update Your Address: Notify banks, utilities, and government services ahead of time.
- Pack a First-Day Box: Include essentials like tea, toiletries, and important documents.
- Protect Fragile Items: Use proper materials and packing techniques to avoid damage.
- Hire Professional Movers: Book reputable movers early and confirm details in writing.
- Handle Utilities and Meter Readings: Arrange transfers and take readings on moving day.
- Plan Moving Day Logistics: Confirm schedules, keep essentials handy, and prepare your new home.
15 Moving Tips for a Stress-Free Move (Step-by-Step Guide)
1. Make a Moving Checklist
A moving checklist can be your lifesaver during relocation. Instead of relying on memory to juggle countless tasks, having everything written down ensures you don’t overlook anything important. Breaking tasks into a timeline makes the process feel less overwhelming.
Start creating your checklist 6-8 weeks before your move – or even 3 months ahead if you’re relocating during a busy season. This is especially important if you’re hiring professional removal services, as the most sought-after companies often get fully booked weeks in advance.
Organise your checklist into manageable timeframes: 8, 6, 4, 2, and 1 week intervals, plus a dedicated section for moving day. This step-by-step approach keeps you from feeling swamped by everything at once.
Your list should cover both big-ticket items – like hiring removal services or notifying your mortgage provider – and smaller but equally important tasks, such as cancelling milk deliveries, updating your car insurance, or arranging time off work. These smaller jobs can cause last-minute stress if left undone.
Keep your checklist handy, whether it’s in a notebook or a mobile app. As you tick off completed tasks, you’ll feel a sense of accomplishment, which can help you stay motivated during what might feel like an endless to-do list.
2. Prepare Your Packing Materials
Getting your packing materials sorted ahead of time can make the whole moving process smoother and less stressful. Running out of supplies halfway through packing? That’s a headache no one needs.
Aim to gather everything you’ll need at least 2–3 weeks before the move. This gives you enough time to shop around for the best deals and avoid any last-minute dashes to the shop. A rough estimate can help – think about one medium box per room, plus a few extras for heavier items like books, or more delicate belongings from the kitchen.
Keep an eye on prices when shopping for supplies. Packaging companies often offer better deals, especially if you’re buying in bulk. Some even provide eco-friendly options, which might be worth considering if sustainability matters to you.
Your packing kit should include a mix of small, medium, and large boxes, plenty of packing tape, bubble wrap, and void fillers like recycled or Kraft paper. Don’t forget specialist items like wardrobe boxes, dish packs, and markers for labelling. Make sure you account for these costs in your moving budget.
Lastly, check if your removal company provides packing materials – it could save you some hassle.
3. Label Your Boxes Properly
Proper labelling can save you from the chaos of rummaging through boxes to find your kettle or essentials on the first day in your new home. A good labelling system not only saves time but also reduces stress and helps movers know exactly where everything belongs. It’s an extension of the organisational strategies you’ve already put in place.
Make sure to label at least three sides of every box so you can quickly identify its contents, even when they’re stacked. Use waterproof permanent markers to ensure the labels stay clear, and consider incorporating a colour-coding system with at least five different colours. This can be done with markers, tape, or stickers.
Colour-coding works wonders for organisation. Assign a specific colour to each room in your new home, then place matching coloured labels or Post-It notes on the doors of those rooms. This way, movers can instantly tell where each box should go, sparing you those frustrating "Where does this belong?" moments.
When labelling, include the destination room, a brief description of the contents, and any special instructions. For example, write something like "Kitchen – Pots & Pans", and for delicate items, boldly mark "FRAGILE" on multiple sides, along with arrows to indicate "THIS SIDE UP."
If you want to save time, pre-printed colour-coded labels are a great option. These often come with useful alerts like "FRAGILE", "HEAVY", "OPEN FIRST", or "DO NOT STACK", making the process even easier.
For added organisation, consider numbering your boxes alongside colour coding. For example, label them as "Kitchen #1", "Bedroom #3", and so on, and maintain a master list detailing the contents of each numbered box. This inventory will be a lifesaver when you need to locate specific items later on.
To protect your labels from smudging or peeling off, cover them with clear packing tape. This is especially helpful if the boxes might get wet during the move. If you’re reusing old boxes, make sure to tape over any previous markings with fresh labels to avoid confusion.
Don’t forget to clearly mark your "First-Night Essentials" boxes. Use bright tape (like blue) or labels that say "OPEN FIRST", and pack them with must-haves like toiletries, phone chargers, bedding, and a few days’ worth of clothes. Load these boxes last so they’re the first to be unloaded.
For a tech-savvy approach, apps like Sortly or Moving Organiser can help you track box contents digitally. Some even let you use QR code labels that link to detailed inventories, so you can scan a box with your phone to see what’s inside without opening it.
4. Clear Out Unwanted Items
Moving house is the perfect opportunity to declutter and start with a clean slate. Once you’ve tackled your moving checklist and begun packing, it’s time to focus on streamlining your belongings. By cutting down on unnecessary items, you’ll make the entire process easier and more efficient.
One effective way to approach this is by using the ‘move-out method’. This strategy pushes you to make quick, firm decisions about what stays and what goes, leveraging the urgency of your moving deadline. Instead of letting unused items linger in boxes for months, this method helps you decide what’s truly worth keeping.
To make the process even simpler, ask yourself this question: Would I take this if I were moving to a smaller home? This straightforward test helps you critically assess each item and prevents you from packing things you’ll likely never use again.
As you go through your belongings, sort them into four categories: keep, donate, sell, or discard. Be honest with yourself – unused exercise equipment, kitchen gadgets gathering dust, or clothes that no longer fit are all prime candidates for removal. For items you’re unsure about, try the ‘cardboard box test’: pack them away, mark a date in the future, and if you haven’t used them by then, donate them. This approach helps you separate emotional attachment from practicality.
The benefits of decluttering go beyond just having fewer boxes to move. With a lighter load, you’ll save on moving costs, reduce physical effort, and have more room to organise your new home. Plus, starting fresh in a clutter-free space can feel incredibly liberating, both physically and emotionally.
Begin decluttering at least four to six weeks before your move to avoid last-minute stress. Start with areas you use the least – like the loft, garage, or spare rooms – and gradually move to everyday spaces. This step-by-step approach gives you ample time to sort through everything and arrange donations or sales for items of value.
Ultimately, decluttering is about being intentional. Keep only the things that serve a clear purpose or bring genuine joy. By doing so, you’ll ensure that every item you bring into your new home adds value to your life.
5. Update Your Address with Services
Keeping your address updated with essential services and organisations is a must when moving. It helps you avoid issues like missed deliveries, unpaid bills, or credit complications. Think of this as a crucial part of your moving plan.
Start this process at least four weeks before your moving day. Begin with the Royal Mail’s redirection service – it’s a reliable backup to catch any mail that might slip through the cracks. You can set this up online or at your local Post Office.
Next, notify your financial institutions and insurance providers. Most banks and insurers allow you to update your details through their mobile apps or websites. Updating this information is important, as it might even impact your insurance premiums.
Don’t forget government agencies. You’ll need to inform HMRC for tax purposes, the DVLA for your driving licence and vehicle registration, your local council for council tax, and the Department for Work and Pensions (DWP) if you receive benefits or pensions.
After that, tackle your utility providers. Contact your gas, electricity, water, broadband, and mobile phone companies to sort out service transfers or cancellations. Some providers even offer moving packages that handle these changes for you, making the process less stressful.
It’s also important to update your address with healthcare providers like your GP and dentist, as well as subscription services, streaming platforms, and any professional organisations you belong to.
Finally, check your online shopping accounts, such as Amazon or eBay, to make sure future orders arrive at the right place.
Keep track of all the services you’ve updated and save any confirmation emails for your records – it’s always better to have everything in one place.
sbb-itb-40214c8
6. Pack a First Day Box
A first day box – sometimes called an "essentials box" or "survival box" – is your go-to kit for the first few hours in your new home. It’s a lifesaver, packed with everything you’ll need right away, so you’re not rummaging through countless boxes on moving day.
This box is all about convenience and practicality. For a British household, think about including a kettle, tea bags, mugs, and some milk – because, let’s face it, a proper cup of tea is non-negotiable. Throw in some biscuits or snacks to keep your energy up as you settle in.
Beyond the comforts, you’ll want practical items like toilet roll, hand soap, towels, bin bags, and basic cleaning supplies. Don’t forget essentials like phone chargers, a change of clothes, prescription medications, and key documents such as your tenancy agreement, meter readings, and the removal company’s contact details.
If you’re moving with children, make sure their pyjamas, favourite toys, and a few storybooks are included to help them feel at home on the first night. For pets, pack their food, bowls, and any comfort items they might need. And if it’s winter, toss in a torch and some extra warm clothing – because UK weather loves a surprise.
Label the box clearly – something like "FIRST DAY BOX" or "ESSENTIALS – OPEN FIRST" works well. A sturdy, clear plastic container is a smart choice, as it lets you see what’s inside at a glance. Adding a small toolkit with items like a screwdriver, scissors, and a utility knife can be a game-changer for assembling furniture or opening other boxes.
Keep this box with you during the move or load it onto the van last, so it’s the first thing you can grab at your new place. Pack it the night before moving day to include any last-minute essentials, and encourage each family member to prepare a personal bag with toiletries, chargers, and a spare outfit. This way, you can quickly make a cup of tea, freshen up, and settle in without unnecessary hassle – making the first steps in your new home much easier.
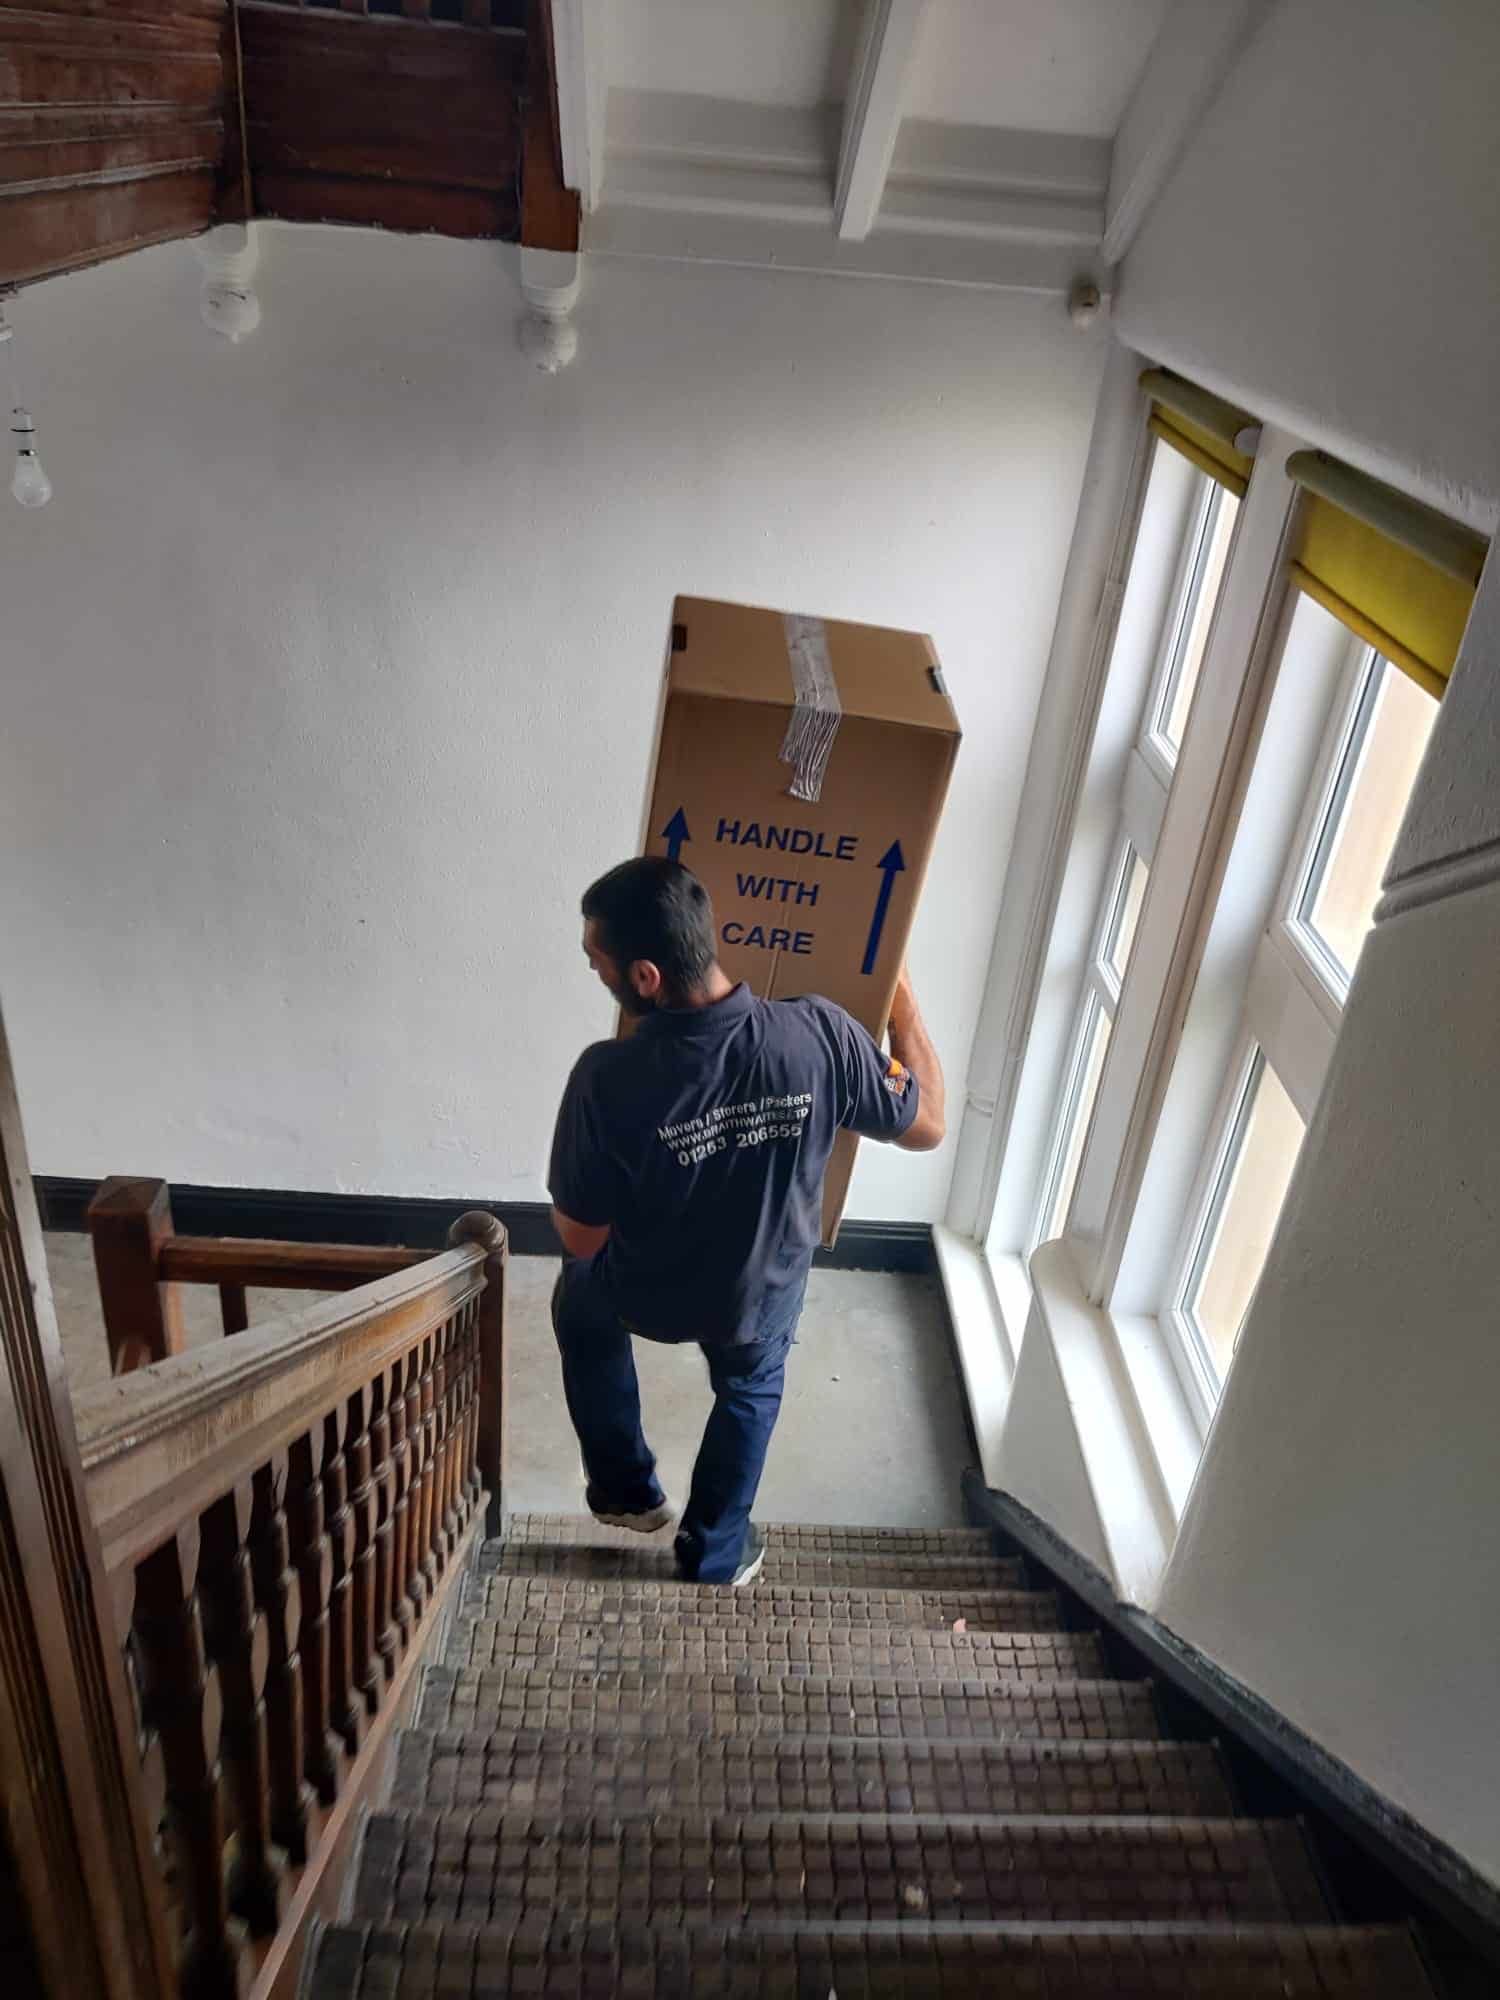
7. Pack Fragile Items Safely
Packing fragile items requires extra care to ensure they make it to their destination undamaged. The trick is to use the right materials and follow smart packing methods to create a solid layer of protection.
Choose sturdy boxes. For heavy, delicate items like glassware or ceramics, small, durable boxes work best. They minimise movement and reduce the chance of the box collapsing under weight. Skip flimsy options like old cereal boxes or worn-out cardboard. Instead, invest in proper moving boxes designed for the job. Before packing, reinforce the bottom of each box with several layers of strong packing tape to prevent it from giving way.
Build a cushioned base. Start by lining the bottom of the box with soft materials like bubble wrap, packing paper, or foam sheets. This layer acts as a shock absorber during transit.
Pack with strategy. Place the heaviest fragile items at the bottom of the box to create a stable foundation. Wrap each item individually in bubble wrap or packing paper, securing it with tape. For hollow items like vases, wine glasses, or jars, fill the interiors with crumpled packing paper to provide extra support and reduce vibrations that could lead to cracks.
Separate glassware carefully. Use cardboard dividers or wrap each piece individually to stop glasses and stemware from colliding. If you have access to boxes with built-in compartments, they’re ideal for this purpose. If dividers aren’t available, create barriers using extra packing paper.
Packing paper is a popular choice because it’s effective and eco-friendly. Use it generously to fill gaps in the box, or substitute with soft items like clothing if needed.
Secure everything tightly. High-quality packing tape is a must. Heavy-duty duct tape or specialised paper tape offers much better hold than cheap alternatives. Once the box is sealed, give it a gentle shake – if you hear movement, add more padding. When everything feels secure, label the box clearly to ensure careful handling.
Label with care. Clearly mark each box as "FRAGILE" and include a brief description of its contents, such as "Kitchen China" or "Glass Ornaments." This helps movers handle the boxes appropriately. If possible, set aside fragile boxes to be loaded onto the moving van last, ensuring they won’t have heavier items stacked on top.
For especially valuable or delicate items – like heirlooms, expensive electronics, or artwork – consider hiring professional packing services. It might cost extra, but the peace of mind can be worth it, especially for items that are irreplaceable or hold sentimental value.
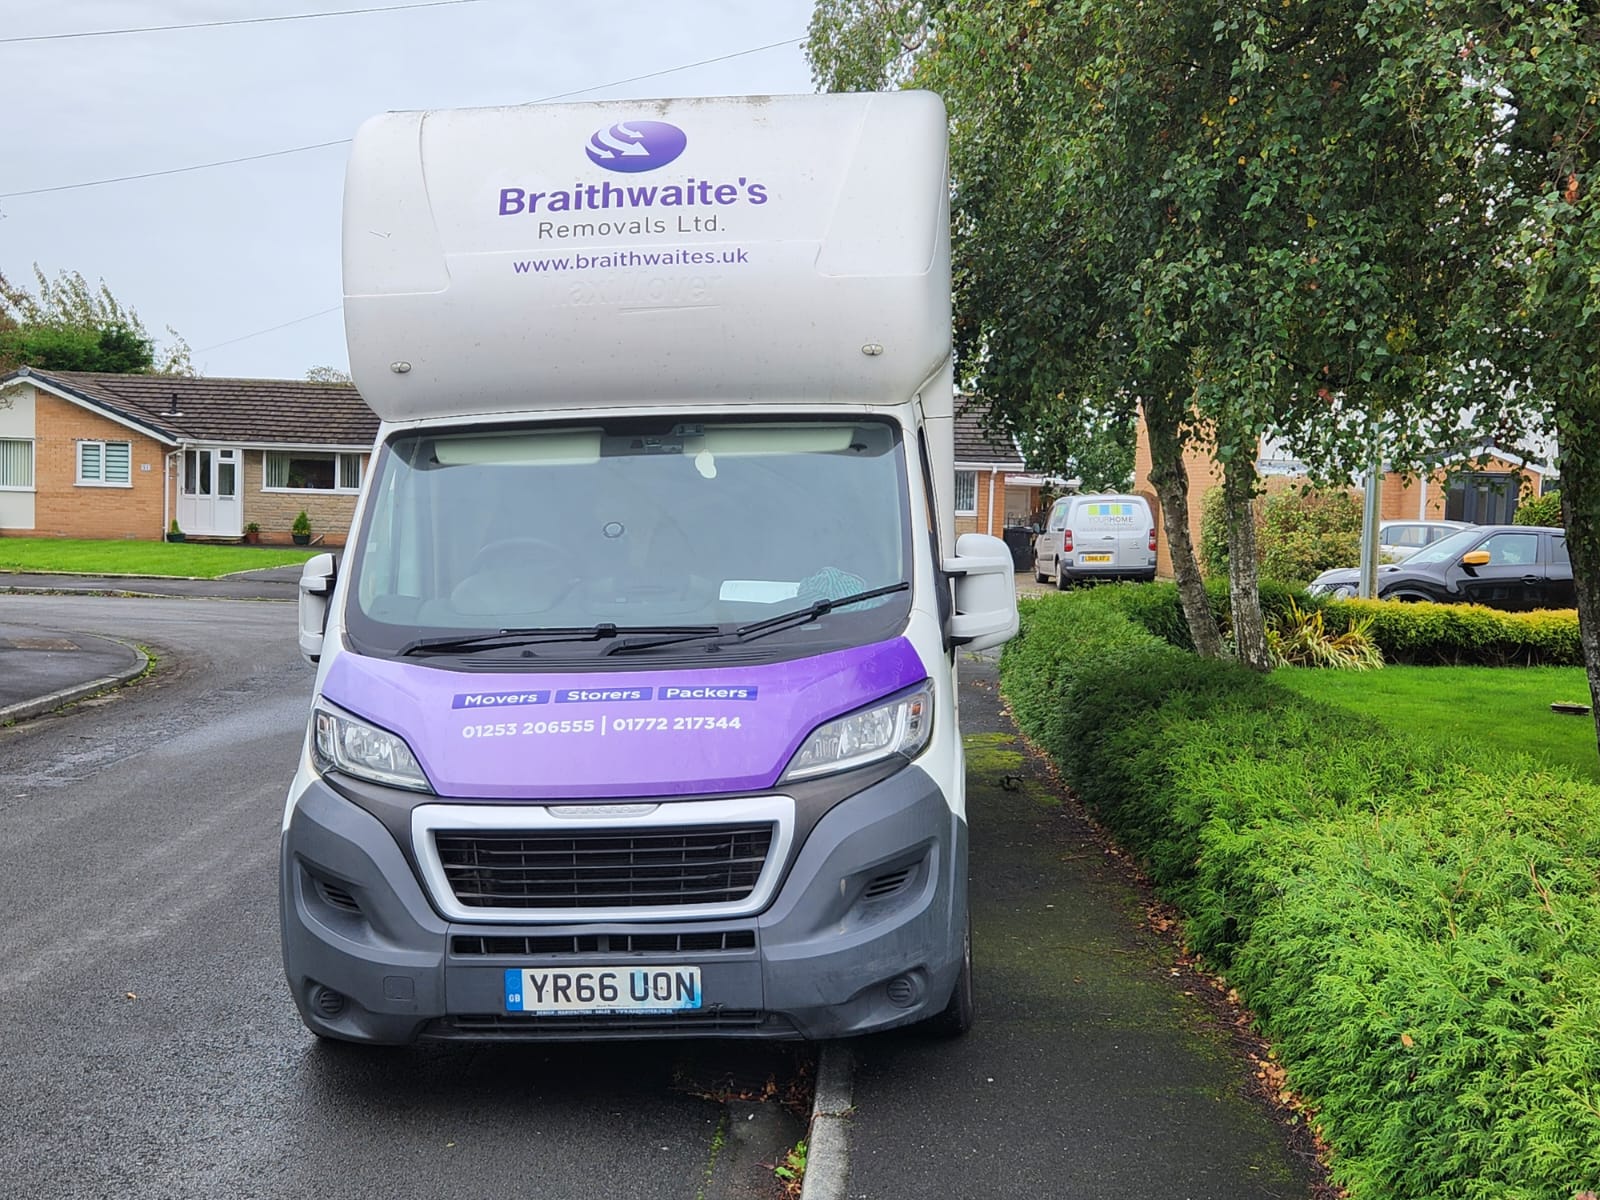
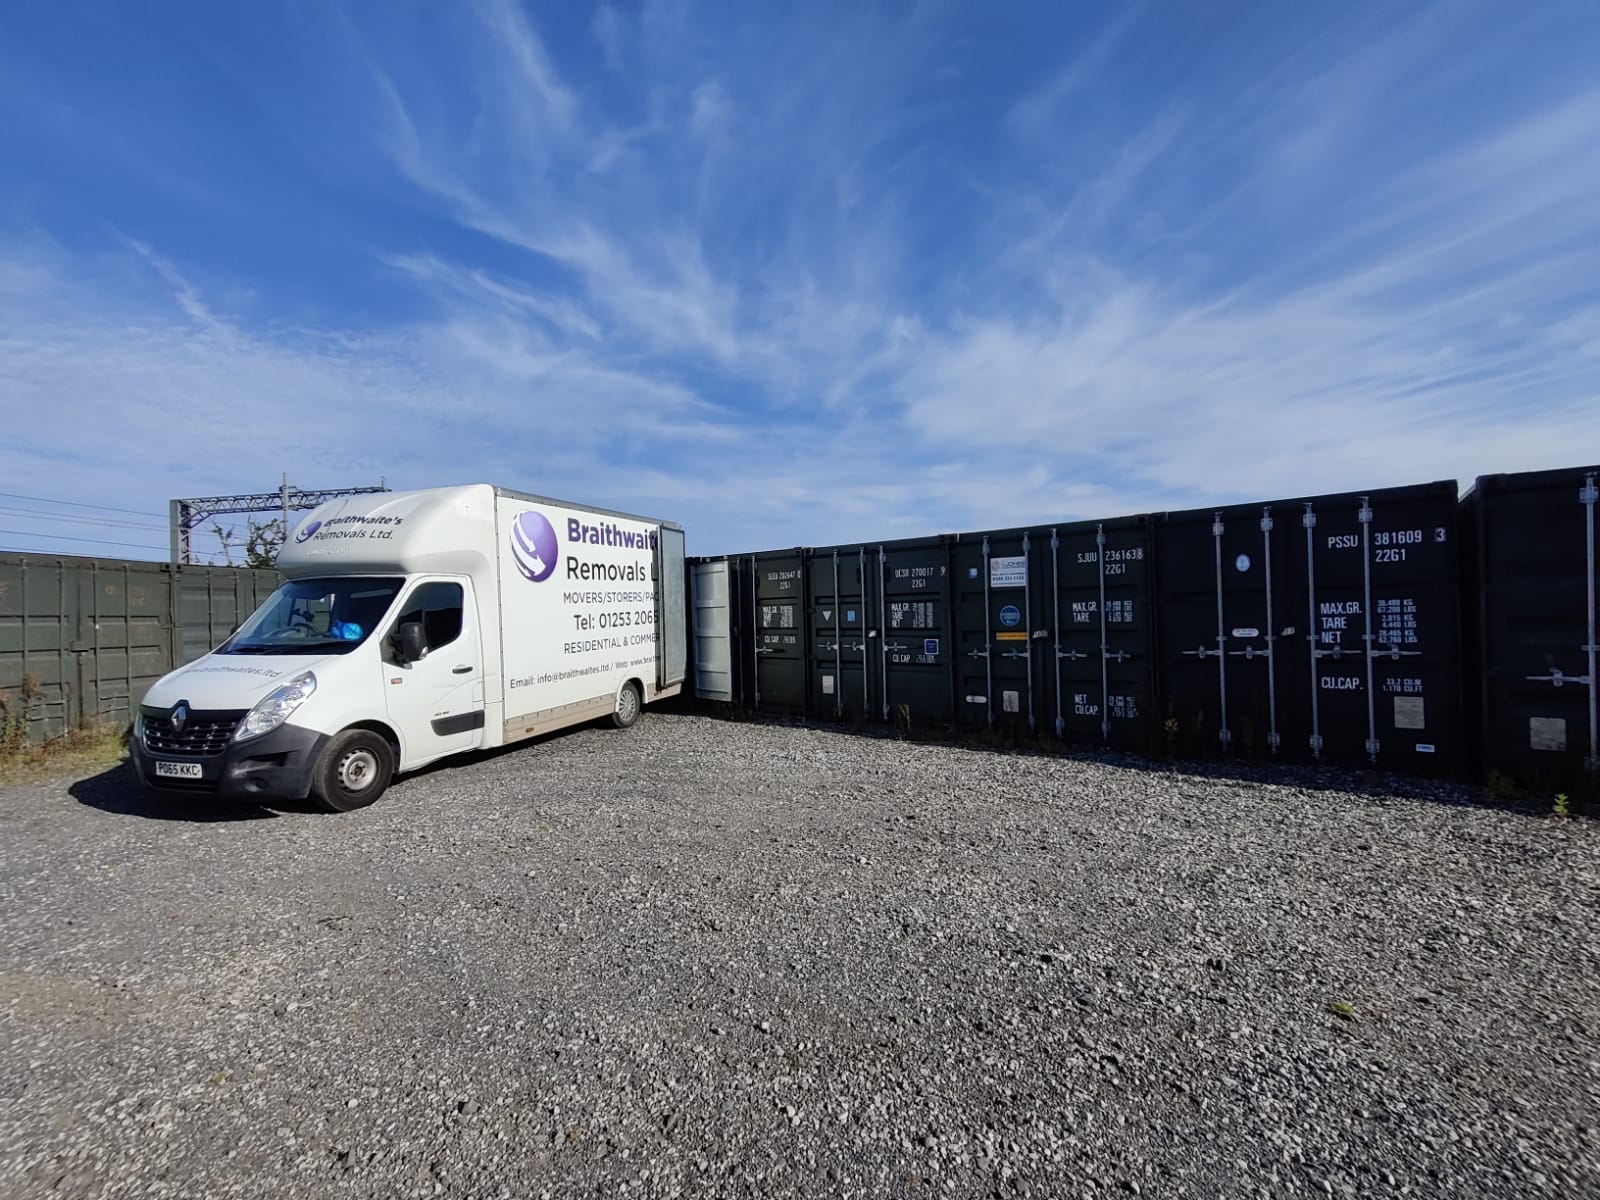
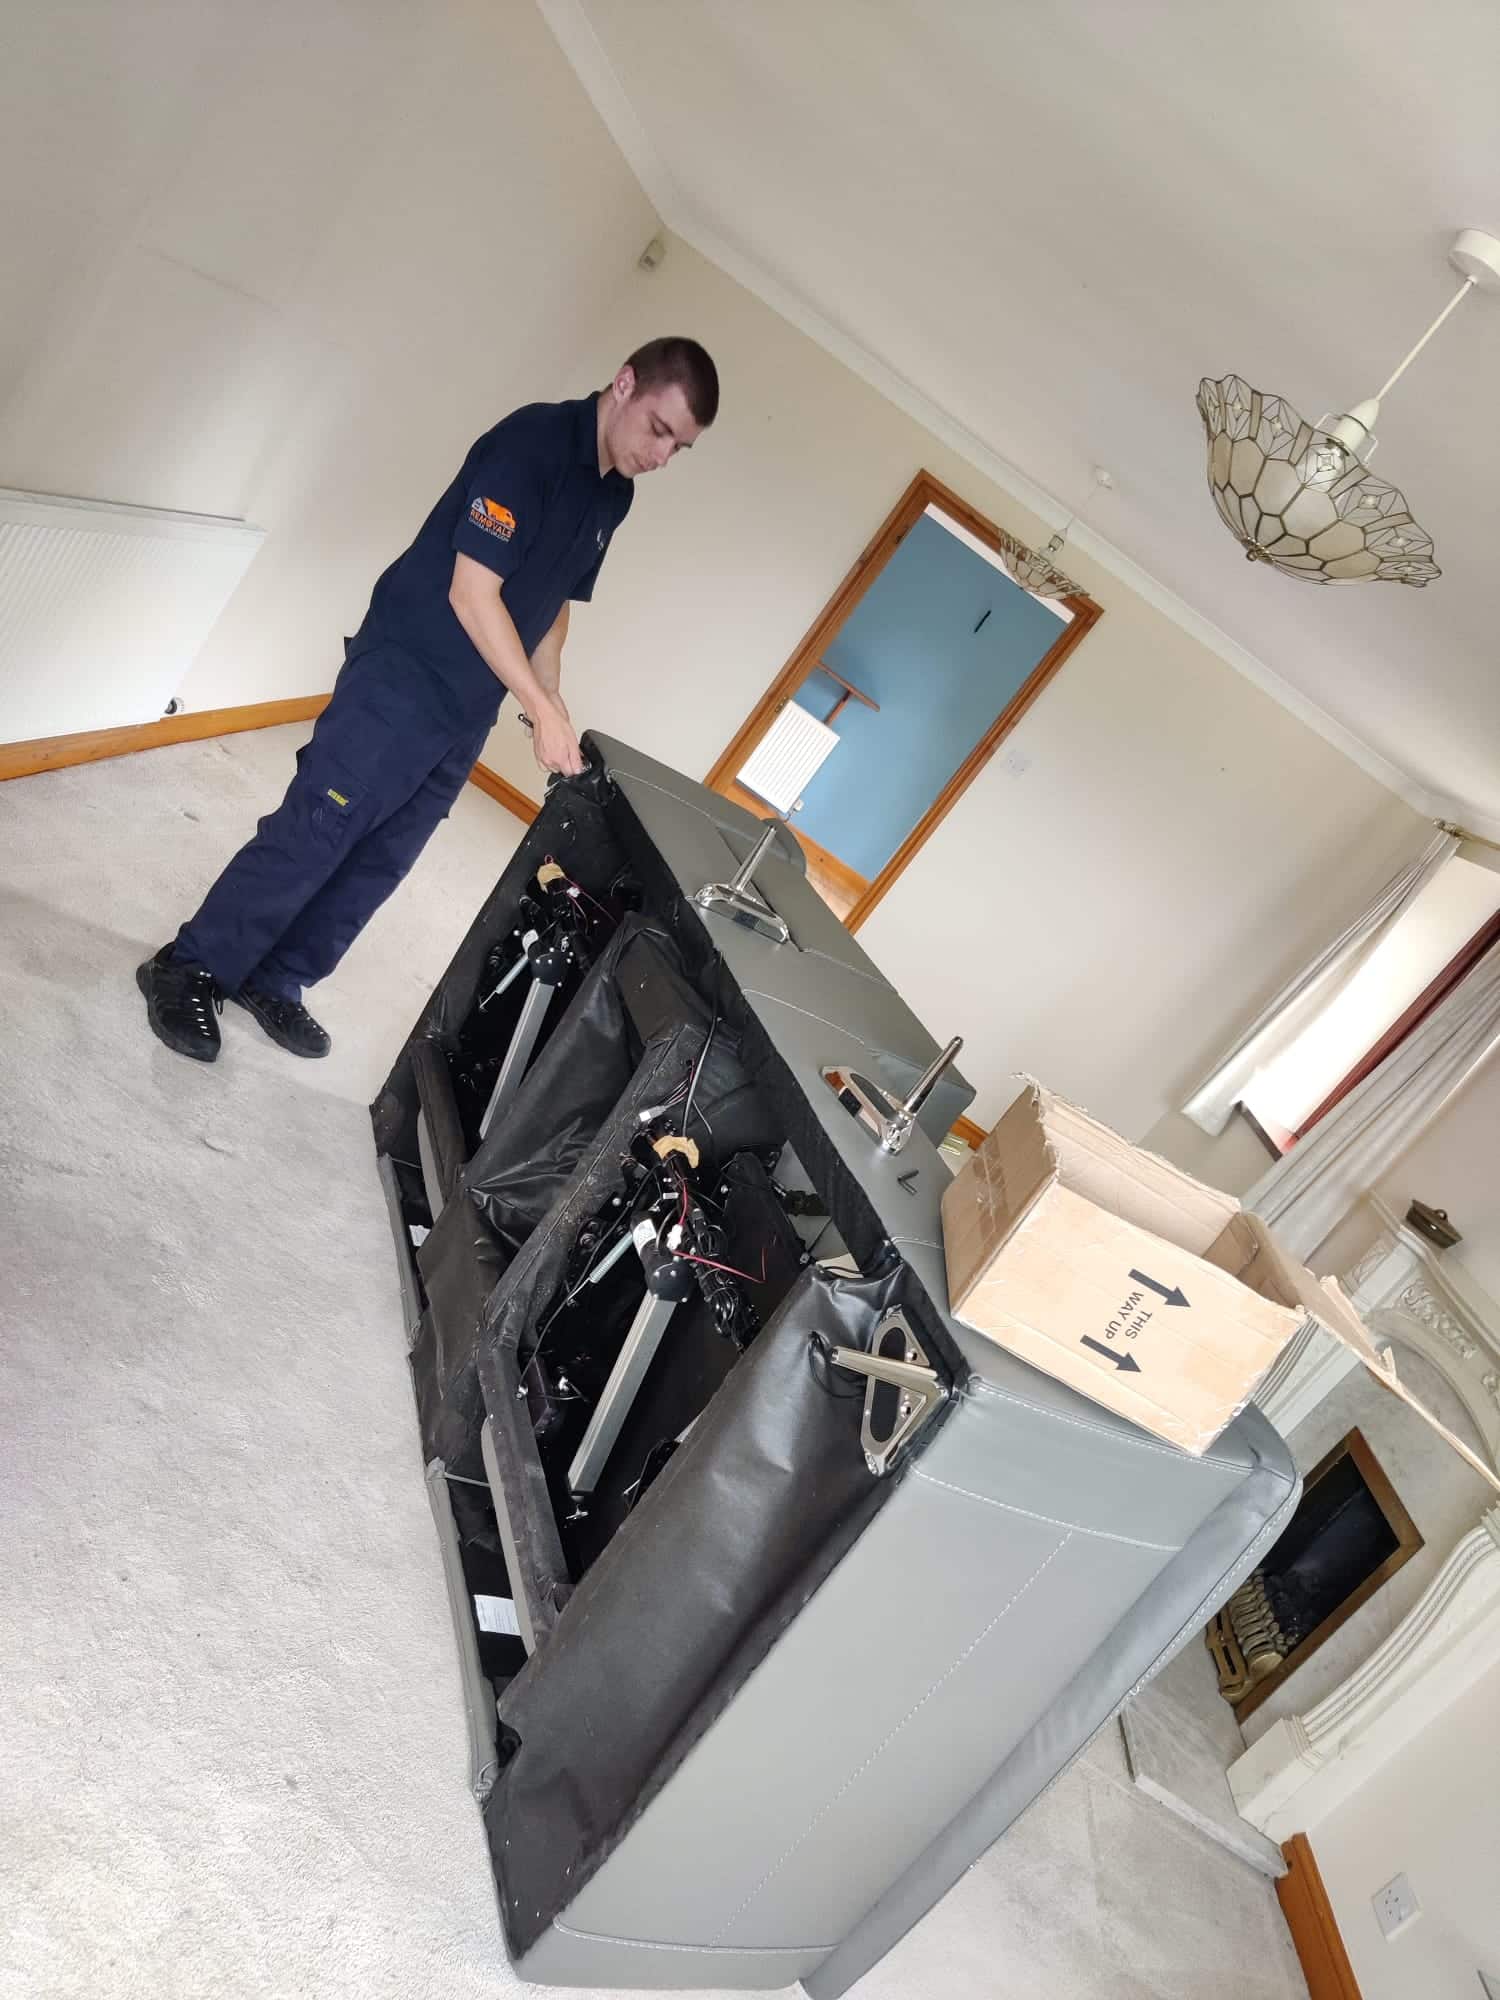
8. Work with Professional Movers
Hiring professional movers can turn your moving process into a far more organised and manageable experience. A reliable team can handle your belongings with care, easing much of the stress that comes with relocating. Here’s how to find the right movers for your needs.
Start your search early. Reputable removal companies tend to get booked up quickly, particularly during busy periods like the summer or the end of the school term. To avoid last-minute panic, begin your research at least six to eight weeks before your moving date.
Request detailed quotes from multiple companies. Be specific about your requirements when asking for quotes. Provide details such as the size of your property, any heavy or fragile items, potential access challenges (like narrow staircases or limited parking), and whether you’ll need additional services like packing or storage. Many professional movers will offer to conduct an in-person assessment to give you a more accurate estimate.
Verify credentials and insurance. Ensure the company you choose is fully insured and properly certified. Ask about their public liability insurance and goods-in-transit cover, which safeguard your belongings in case of damage. Always request proof of insurance before signing any agreements.
Read reviews and request references. Don’t just rely on star ratings – take the time to read detailed reviews to see how the company handles potential issues. Look for feedback on their punctuality, how well they care for belongings, and how they resolve complaints. A trustworthy company should also be willing to provide references from recent clients.
Clarify what’s included in the service. Some movers offer comprehensive packages that include packing materials, furniture dismantling, and even unpacking at your new home. Others may only cover transportation. Make sure you understand exactly what’s included in the service and ask about any additional fees for extras.
Communicate special requirements. If you have items that need extra care, such as antiques, a piano, or anything particularly fragile, let the movers know well in advance. This ensures they come prepared with the right equipment and expertise.
Confirm everything in writing. Once you’ve chosen a company, get all the details in writing. This includes the moving date, costs, services provided, and liability terms. Having everything documented avoids misunderstandings later on.
Professional movers allow you to focus on the bigger picture while they handle the heavy lifting – literally. With the right planning and clear communication, they can make your move far less stressful.
9. Sort Out Utilities and Meter Readings
Overlooking utilities and meter readings can lead to billing headaches and service interruptions. Getting these sorted early ensures you’ll have electricity, gas, water, and internet ready to go when you move into your new home. Here’s how to handle it all smoothly.
Start by contacting your utility suppliers four to six weeks before your move. Most providers need at least two weeks’ notice, so don’t leave this to the last minute. During this time, you should also arrange new accounts for your next property.
Take meter readings on moving day. Make sure to record and photograph the readings (with the date and time) at both your old and new homes. This provides a clear record to share with suppliers, which you can do online, via their apps, or over the phone. It helps avoid disputes over final bills.
Check suppliers in your new area. Your current energy provider might not cover your new location, or there could be better deals on offer. Use comparison sites to review rates and consider switching if it’s a better option. Just make sure any changes are planned outside the immediate moving period to avoid complications.
Handle water and council tax accounts. Notify your local water company and both councils (current and new) to either transfer or set up accounts. Billing processes for water can differ across England, Scotland, and Wales, so confirm the specific requirements for your new address.
Sort broadband and phone installations as soon as your moving date is confirmed. Internet setups often require an engineer visit, and in some areas – especially rural ones – this could take weeks. If you’re sticking with your current provider, they may be able to transfer your package. If not, compare deals to find the best option.
Save confirmation details and set up direct debits as soon as your accounts are active. Mistakes happen, and having reference numbers can make resolving issues much easier. Plus, many suppliers offer discounts for direct debit payments, which can help ease the strain on your moving budget.
Taking care of utilities ahead of time means you can settle into your new space without worrying about billing errors or waiting for essential services to be connected.
10. Plan Your Moving Day
Moving day can feel like a whirlwind, but having a solid plan in place can make everything run much smoother. Start by confirming the arrival time, contact details, and any special requests with your removal team at least 48 hours beforehand. This step helps avoid last-minute confusion and ensures everyone knows what to expect. Once that’s sorted, you can focus on organising your own schedule for the day.
Keep your first day essentials box within easy reach – don’t let it get loaded onto the removal van. This box should include things like toiletries, a change of clothes, snacks, and any other items you’ll need immediately. It’s also a good idea to have some cash on hand, around £20–50, for tips or unexpected expenses.
Create a realistic timeline for the day, factoring in breaks and possible delays like traffic or parking restrictions. Most moves take between 4 and 8 hours, but if you’re moving on a busy day, like a Friday or during school holidays, allow extra time to account for potential hold-ups.
Divide responsibilities among your team. Assign someone to stay with the removal crew to answer questions and keep track of the inventory. Meanwhile, another person can handle tasks like taking final meter readings, handing over keys, or looking after children and pets. Having clear roles prevents important details from slipping through the cracks.
Prepare your new home before the van arrives. If you can, visit the property a few days earlier to measure doorways, plan where furniture will go, and check for any access challenges. On moving day, make sure the space is clean, utilities are connected, and everything is ready for the big unload.
Keep important phone numbers handy. Save contact details for your removal team, estate agent, solicitor, and utility providers in your phone. It’s also smart to write them down as a backup – phones have a knack for dying at the worst times. Before loading your belongings, take photos of valuables to document their condition. While most removal companies will have their own inventory system, having your own record can give you added peace of mind.
Stay flexible and adaptable. Even with the best-laid plans, unexpected challenges can pop up – maybe a lift breaks down or a narrow street causes delays. Build some buffer time into your schedule and approach any surprises with a positive mindset. A little patience can go a long way in keeping the day stress-free.
With proper preparation and realistic expectations, you’ll be able to focus on the excitement of settling into your new home rather than getting bogged down by logistics.
Conclusion
Moving house doesn’t need to feel overwhelming. By starting early and following a clear plan, you can turn what might seem like a daunting task into a well-organised process. A bit of preparation goes a long way in making the experience smoother.
Sorting out key administrative tasks, such as updating your address and arranging utility transfers ahead of time, can save you from unnecessary stress later. It ensures your new home is ready and waiting for you when moving day arrives.
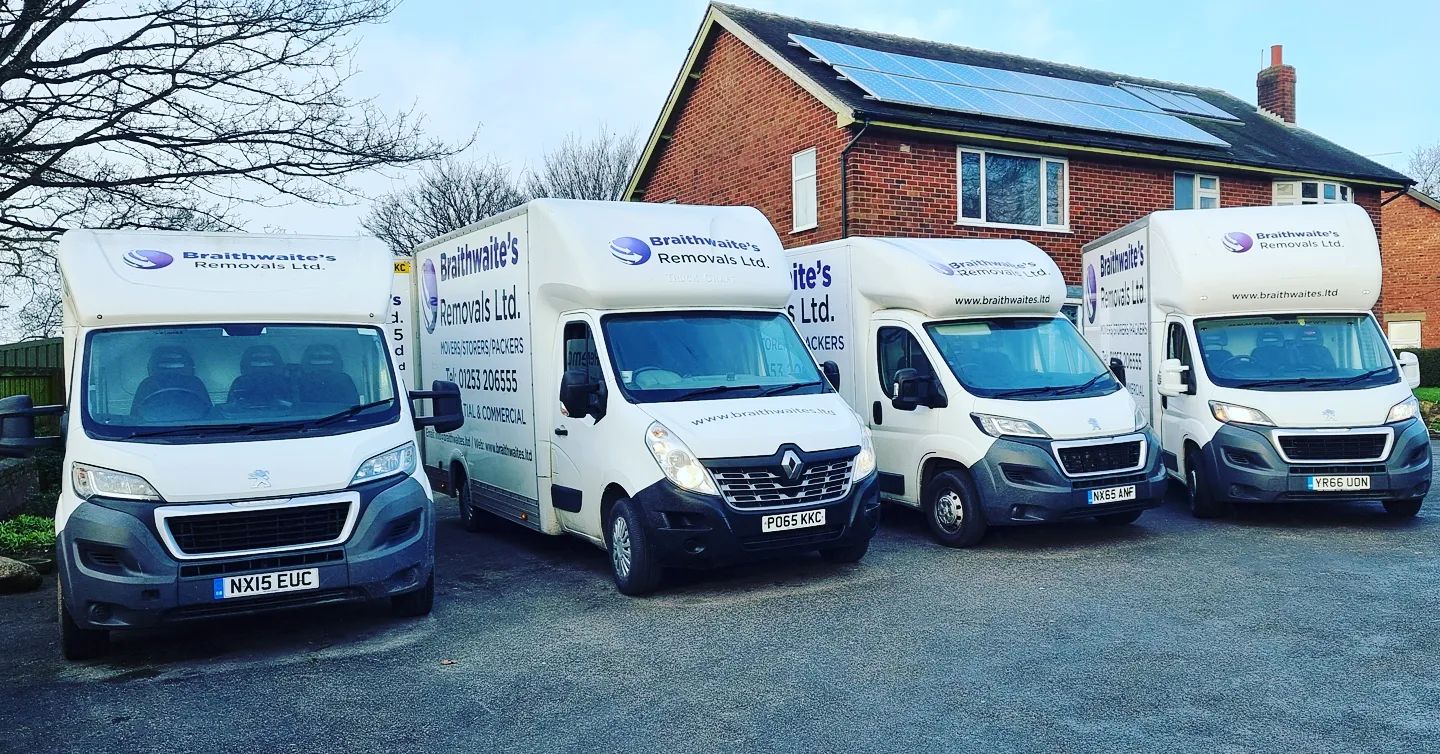
Enlisting professional removal services can also make a world of difference. At Braithwaite’s Removals Ltd, our extensive experience allows us to handle every detail of your move with care and efficiency. Professional movers not only protect your belongings and work swiftly but are also equipped to tackle any unexpected hurdles. Plus, with proper insurance in place, you gain an extra layer of security – something you simply can’t guarantee with a DIY move.
FAQs
What should I pack in an essentials box for the first day in my new home?
To keep your first day in your new home as hassle-free as possible, pack a box with the essentials you’ll need immediately. Think toiletries, a towel, basic cleaning supplies, important documents, a change of clothes, chargers, snacks, drinks, and any prescription medication.
This simple step can spare you the frustration of digging through boxes and help you feel more comfortable as you settle in. If you’re moving with children or pets, it’s a good idea to include their favourite items – like a cherished toy or blanket – to help them adjust to the new environment.
What’s the best way to declutter before moving house to reduce stress and costs?
To get ahead of the moving chaos, start decluttering about 4–6 weeks before your move. Divide your items into four groups: keep, donate, sell, or discard. This approach keeps you focused and helps avoid a last-minute scramble. Begin with the obvious clutter and work through one room or area at a time. Staying organised this way can prevent feeling swamped by the task.
Cutting down on what you take with you can save money on moving expenses and make unpacking far more manageable. Items in good shape could be donated to charities nearby or sold online for some extra cash. The fewer things you take, the easier and less stressful your move will be!
How can I make sure my utilities are set up and ready before moving into my new home?
To make sure your utilities are ready when you move in, notify your gas, electricity, and water providers at least two working days before the move. This gives them enough time to activate your services and helps you avoid any unnecessary delays.
On the day you move, take meter readings for gas, electricity, and water at your new home and send these to your suppliers. This step ensures you’re charged correctly from the moment you take over the property. It’s also worth double-checking with your providers ahead of time to confirm everything will be ready when you arrive.
For broadband or other services, look into availability in your new area and arrange installation or activation as early as possible. Some providers may need advance notice to get you connected.


